Siding damage can occur for various reasons, from impacts and weathering to age-related wear and tear. While major siding issues may require professional assistance, you can often tackle minor damage with some DIY effort. In this blog post, we’ll guide you through the steps to repair minor siding damage, ensuring your home remains protected and visually appealing.
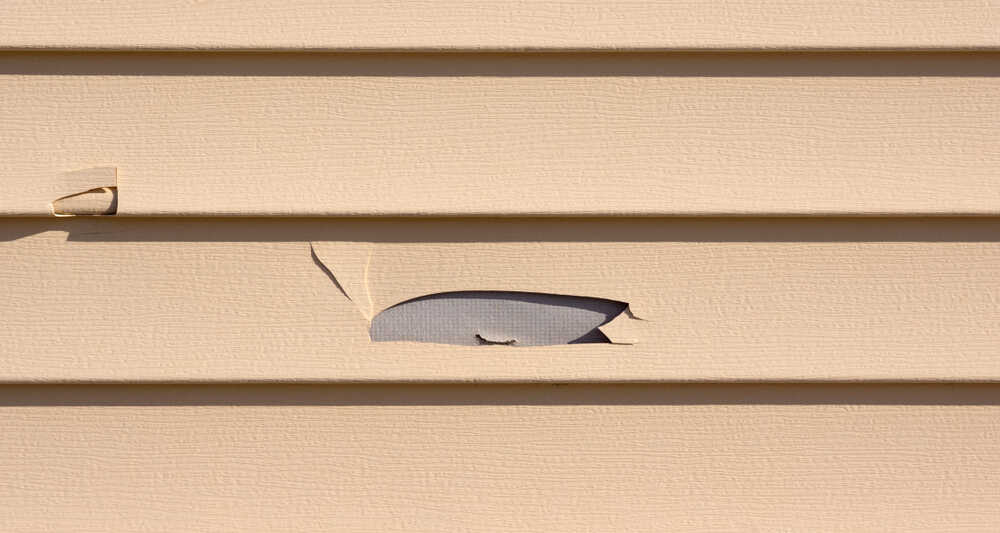
Assess the Damage: Begin by examining the damaged area closely. Identify the type and extent of the damage, whether it’s a small crack, hole, or chipped section. Understanding the damage will help you choose the appropriate repair method.
Gather Your Tools and Materials: To repair minor siding damage, you’ll need a few basic tools and materials, such as:
- Replacement siding material (matching your existing siding)
- Caulk or adhesive (for certain repairs)
- A putty knife or similar tool
- Sandpaper
- Paint (if needed to match the siding color)
- A ladder (if the damage is higher up)
Repair Steps:
Clean the Area:
-
- Use a soft brush or a damp cloth to clean the damaged area, removing any dirt, debris, or loose siding material.
Remove Loose or Damaged Material:
-
- For cracks or chips, gently remove any loose or damaged pieces of siding using a putty knife. Ensure that the surrounding area is stable and free of loose material.
Apply Adhesive or Caulk (if necessary):
-
- If the damage is minor and doesn’t require replacing a whole section of siding, you can use adhesive or caulk to seal the crack or hole. Apply it evenly and let it dry according to the manufacturer’s instructions.
Cut and Replace Siding:
-
- If the damage is more significant or the siding cannot be repaired, measure and cut a replacement piece of siding to fit the damaged area. Make sure the replacement piece matches the style and color of your existing siding.
Secure the Replacement:
-
- Carefully secure the replacement piece into position, ensuring it fits snugly with the surrounding siding. Use nails or screws to secure it in place, being careful not to overdrive them and damage the siding.
Sand and Paint (if needed):
-
- After securing the replacement siding, sand any rough edges to create a smooth surface. If the color of the new siding doesn’t match, consider painting it to blend seamlessly with the rest of your siding.
Inspect and Clean Up:
-
- Give your repair job a final inspection to ensure the damaged area is properly repaired and visually appealing. Clean up any debris or tools used during the repair process.
Repairing minor siding damage can be a manageable DIY task, provided you have the right tools and materials. By addressing minor issues promptly, you can prevent further damage and maintain the integrity and appearance of your home’s siding. However, for more extensive or complex siding problems, it’s advisable to consult with a professional siding contractor to ensure the best possible repair results.